
Based between Edinburgh and the small Hebridean island of Iona, bookbinder Rachel Hazell draws inspiration from shorelines, the beauty of paper, the familiarity of a well-thumbed story and the excitement of cities. After reading English Literature at Edinburgh University, Rachel later trained in Bookbinding at London College of Printing and completed a Master's Degree in Book Art at Camberwell College of Art.
Her workshops and courses today centre around the power of imagination, creating books that resemble unique artworks. As part of our Time to Make series, Rachel talks us through a traditional Asian-style of binding.

This way of binding is a really useful way to gather single sheets together. Its distinctive linear stitch gives a very clean, graphic look. Before starting, I would choose a softer paper so that the thread, when pulled tight, can really sink into the spine. I enjoy the process of filling in the gaps to complete the binding.
Once you've learned the basic version, you could investigate more complex stitch patterns, such as hemp leaf or tortoiseshell, or invent your own...
What you will need
8 X sheets of A5 shortgrain textured paper (minimum 150gsm. I've used a Khadi Cotton Rag paper but any rough-edged papers will work really well)
Fine awl and cardboard
Mechanical pencil
Needle
Waxed linen thread
Watercolour ink
Brush
Clip
Scalpel

METHOD
1. Fold each of the sheets in half widthways, and stack them on top of each other. Unusually, the creased side is going to be on the fore edge of this book.
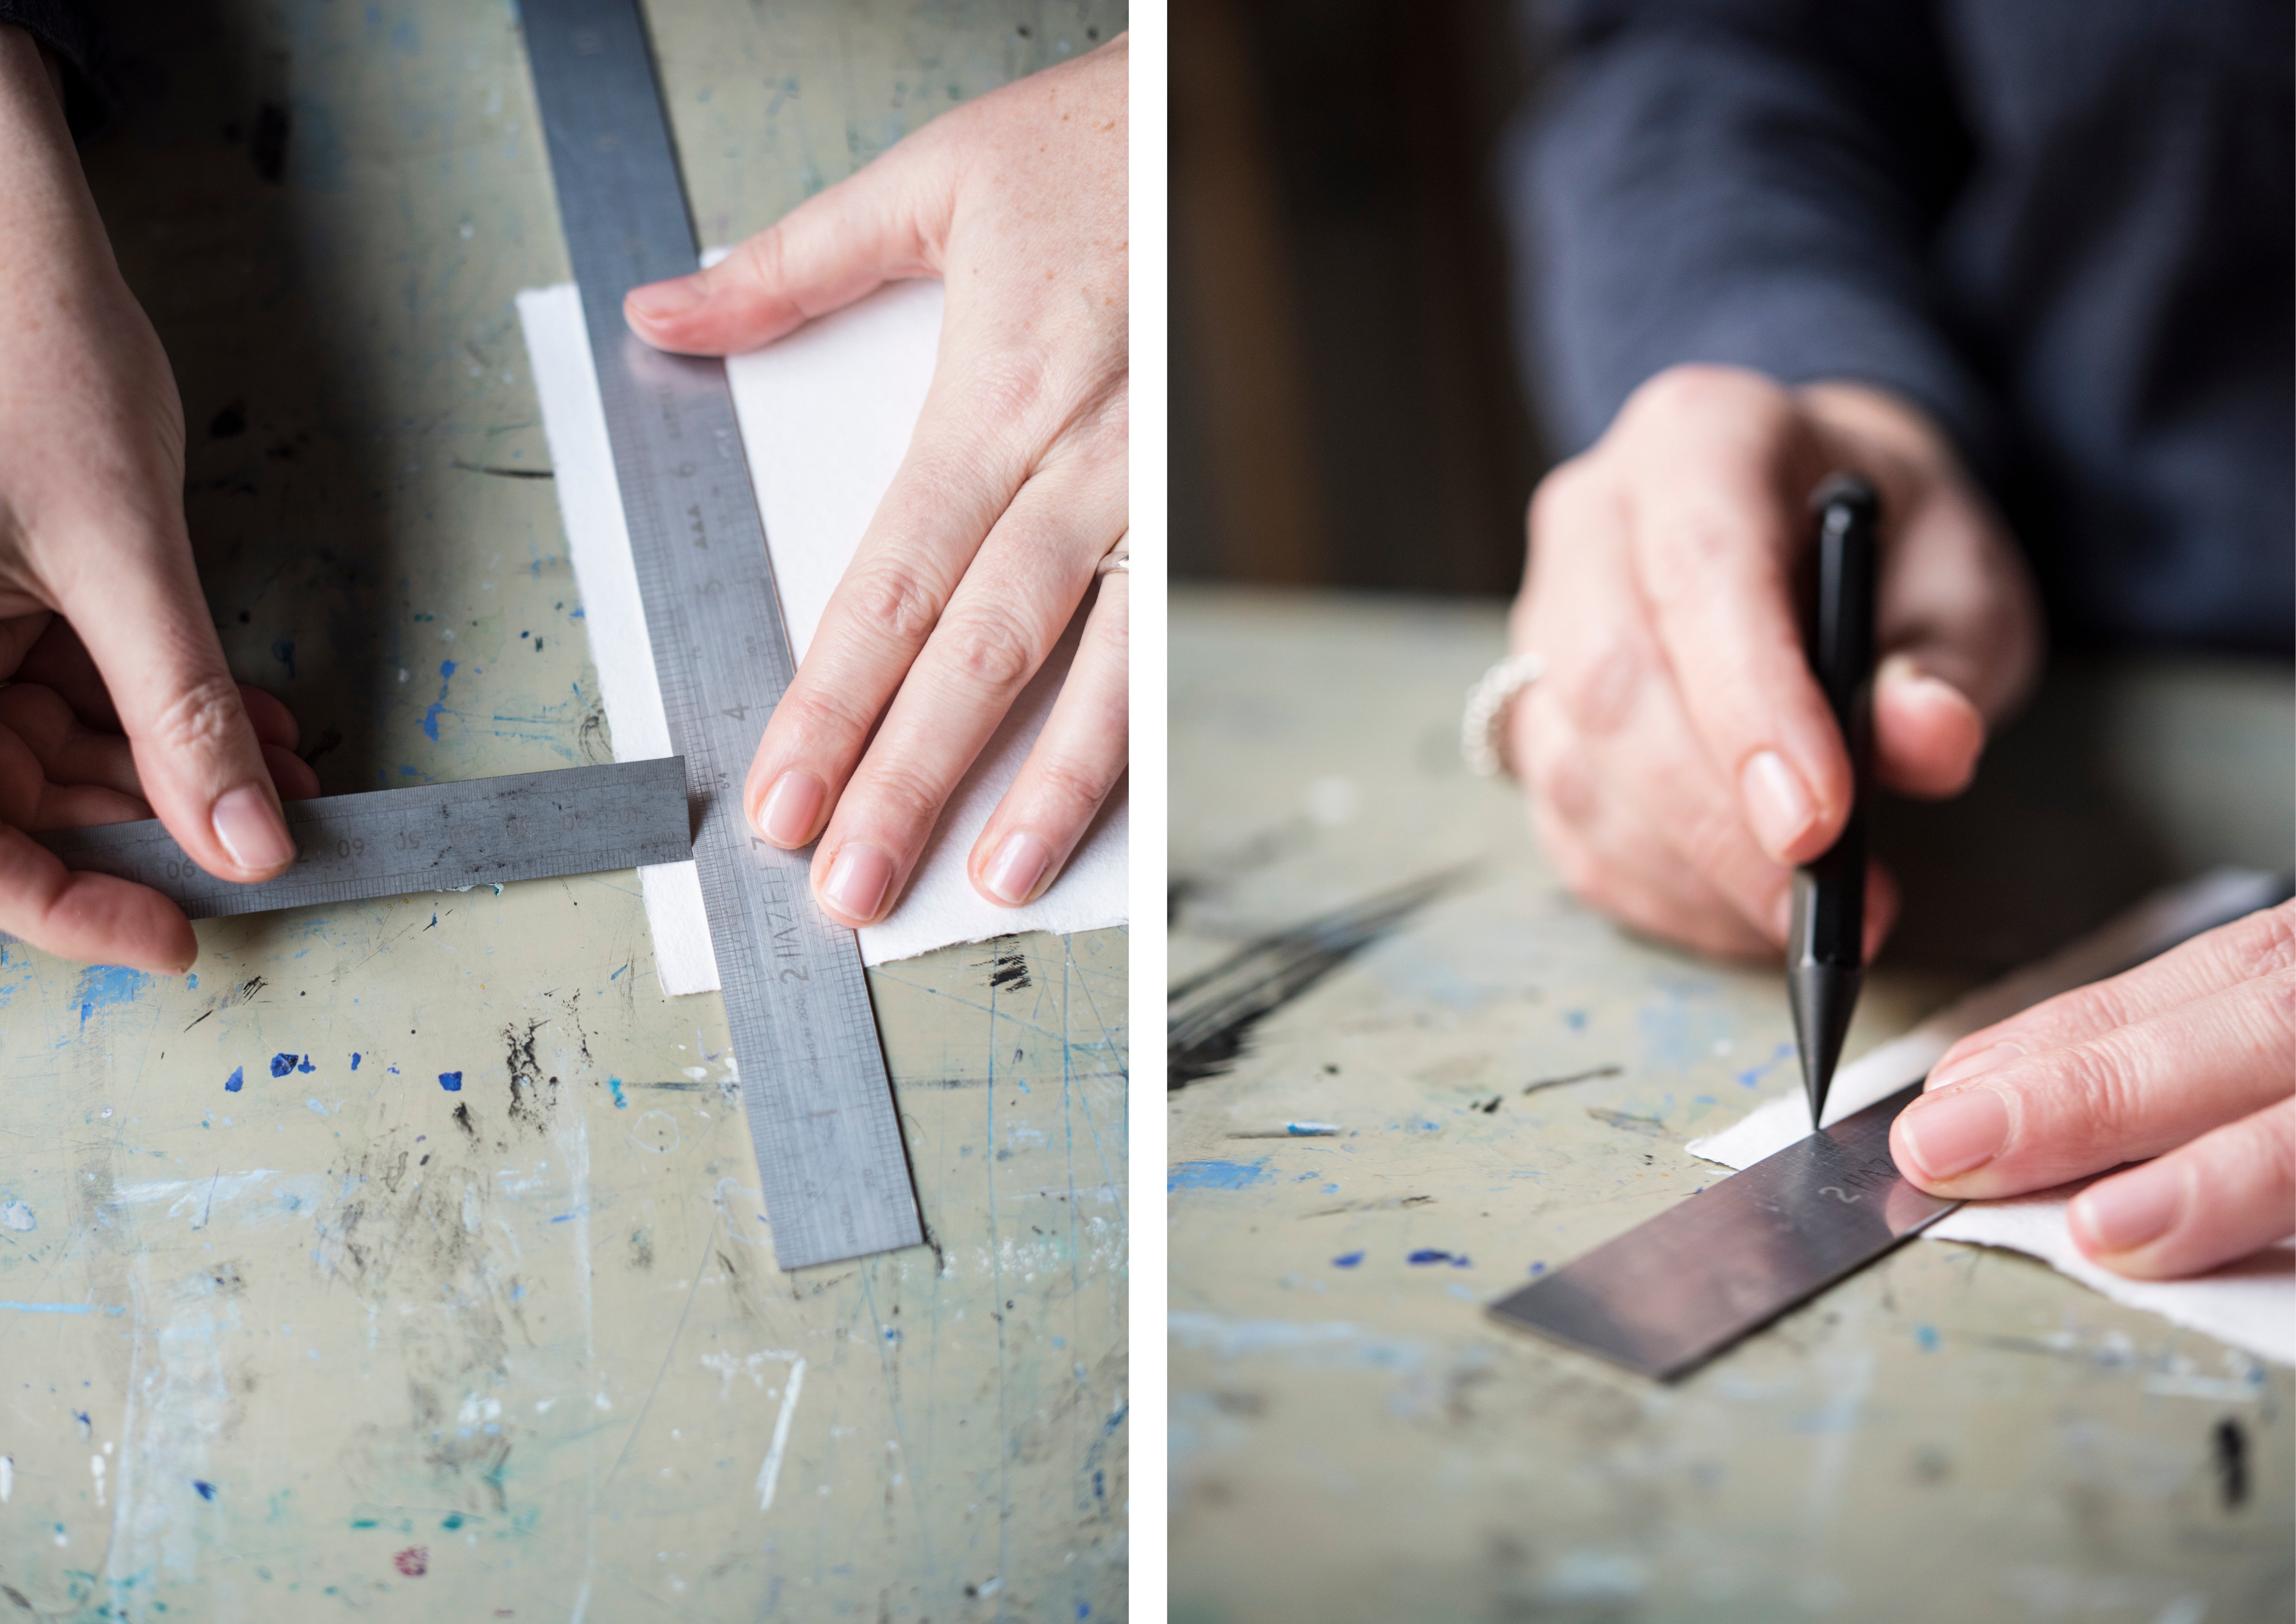
2. Make a template that is the same height as your book. Rule a line running 12mm (in) parallel to the left-hand long edge. Mark a dot on that line 12mm (in) down from the head, and another one 12mm (in) up from the tail. Now find the mid-point and place a dot there. Finally, mark midway between the top and middle dots, and the middle and bottom dots. You'll have five marks evenly spaced from the centre point.
3. Place the template on top of your stack of folded sheets and put a thick piece of cardboard underneath. (Take a moment to check three things: i) that all the fore edges line up; ii) that the long cut edges are on the left; and iii) that the template is squarely on top.)
4. Carefully make holes that go through every page in the pile. Try to keep the awl at 90 degrees to the book, so that the holes go straight down, rather than at an angle. Once the holes are all made, use a clip to be sure of keeping them all lined up, if you like.
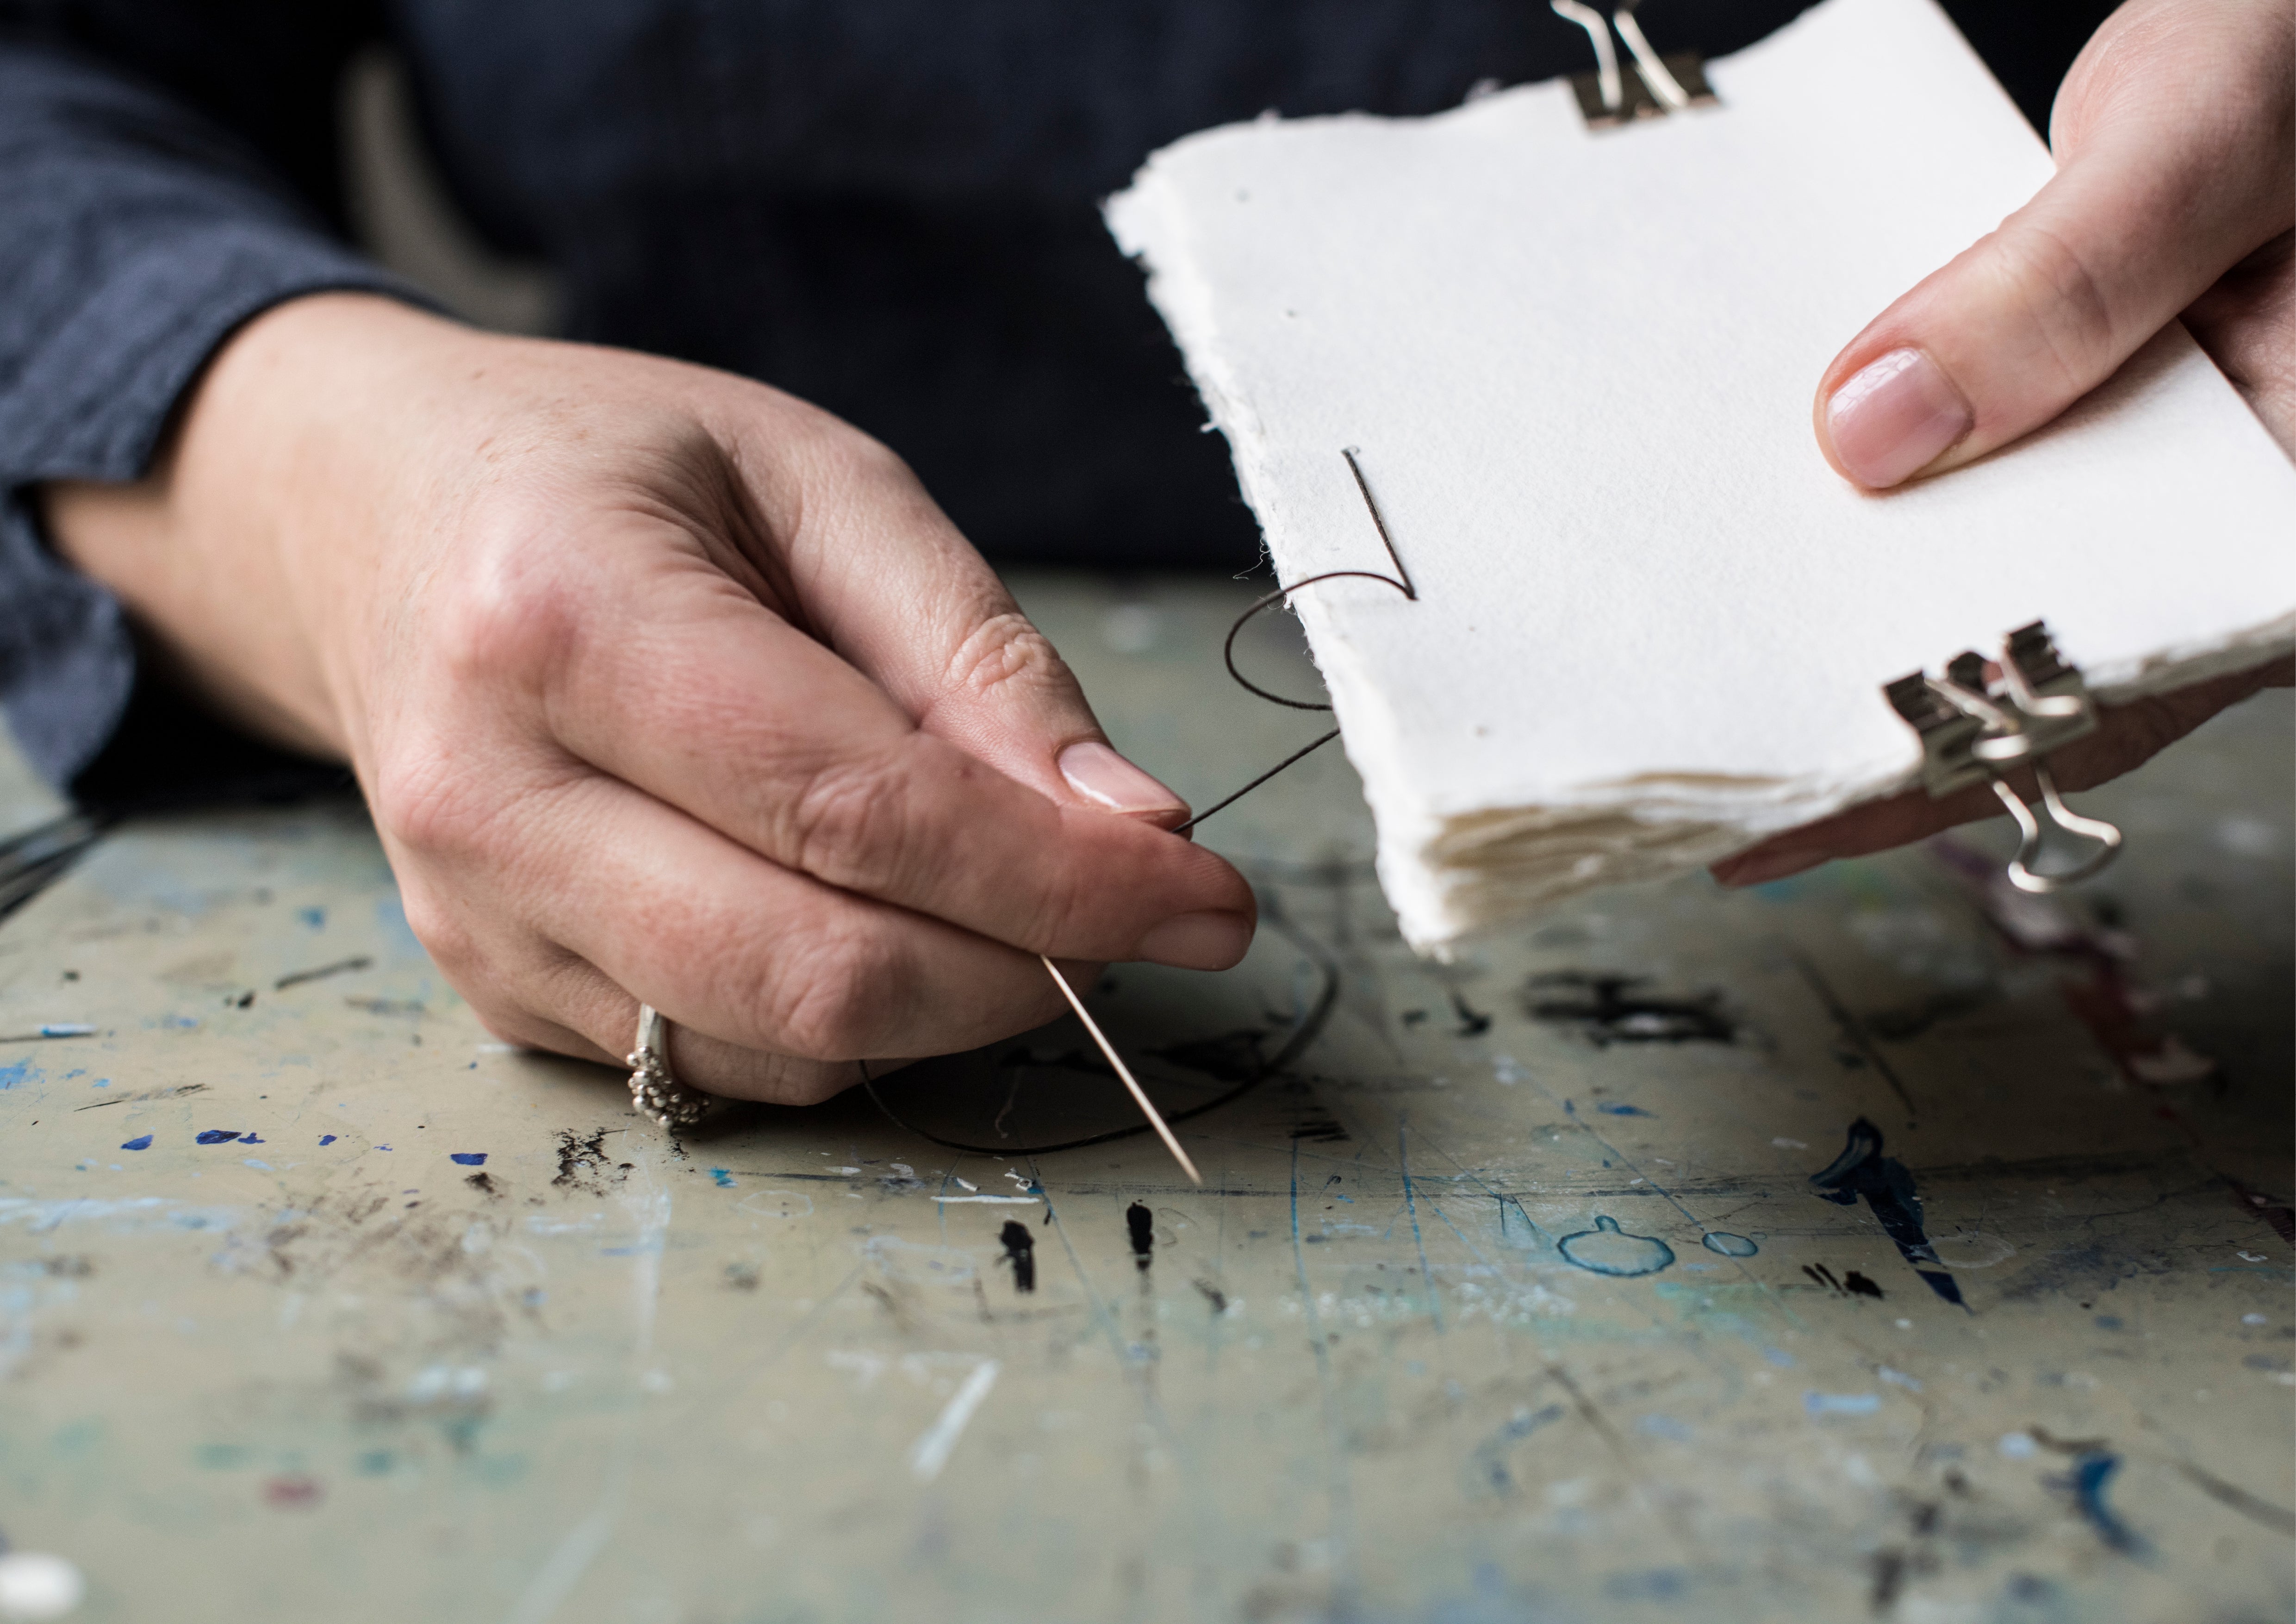
5. Charge your needle with thread four and a half times the height of the book. I'm going to ask you to start in a slightly odd place but trust me, it'll make sense in the end. With your needle and thread in one hand, grip the stack of pages at one corner with the other. Find the gap in between sections four and five and take your needle up through the middle hole. Leave your tail to lie in between the pages (not inside a folded page, or hanging out of the spine) and then put all the pages (the book block) back together again; from now on you'll be sewing it as a whole.


6. Go up to the next hole and through all the pages. Come around the spine and back into the same hole. Continue up to the top hole on the back, go through it and around the spine. Also, go over the top of the book and back into the same hole. Pull the thread really tight, so that it bites into the paper.
7. You'll notice that a pattern is starting to appear. Take your needle into the second hole down, and come back to the front through the middle hole. Don't wrap around the spine at this point.
8. From the middle, work the bottom half of the binding in the same way: so go one hole down, wrap around the spine and back into that same hole. Take your needle down through the bottom hole and remember to wrap around the spine and the tail edge, too.

9. Go up one hole, through to the back and then out the front at the middle hole. All the gaps in the pattern have been filled in except the last stitch.
10. If we were to go around the spine and right through the book, our needle and thread would end up on the outside, when our tail is still on the inside we want to reunite them: take your needle around the spine and point it into the middle hole. Instead of going all the way through, wiggle the tip so that it comes out in between the pages where the tail is lying.
11. Celebrate by tying the ends in a double knot and trim them close. You can nudge the ends into the spine to hide them, if you like.
12. Having double-thickness pages gives you the option to use them as pockets by sealing up the bottom edge with tape or stitch, or cut small picture frame windows with a scalpel (insert card first, otherwise you'll be cutting though both layers).


Your watercolour and brush can be used to decorate the front covers and inner pages as you will, whether it is a study or a simple repeat pattern. We hope you enjoy this little guide on how to make a Japanese Book. If you do make a book, please share it on Instagram using the #TOASTtimetomake. We would love to see your creations.
Rachel's five week PaperLove Course explores a range of ingenious and unique paper-based projects, and starts on 15th June. You can find more information here. This is an extract from Rachel's book Bound: 15 Beautiful Bookbinding Projects published by Kyle, photographs by Susan Bell.
Explore the TOAST Stationery Collection.


Add a comment