
Beeswax wraps are a resourceful, plastic-free way to cover up food and leftovers, keeping them fresh and hygienic in the fridge or cupboard.
Just like honey, beeswax has antibacterial properties, naturally reducing the risk of contamination. The waxy coating on the fabric creates a breathable layer, effectively preserving food for longer and creating less waste in the kitchen.
The reusable wraps can be made at home using just a few simple materials you might already have. Follow our step by step guide and share your results over on Instagram using the hashtag #TOASTtimetomake.
MATERIALS
Bar or pellets of beeswax (the end of a beeswax candle will work just as well)
2 sheets of baking paper
Coconut or jojoba oil
Scissors
Grater
A few small pieces of fabric (ideally cotton or linen)
Tea towel
Iron and ironing board


METHOD
To start, cut your fabric to the right size, depending on how big you would like your wrap to be. A smaller square of fabric can be useful for wrapping smaller pieces of food, such as fruit and cheese, whereas bigger squares can be used to mould around the tops of bowls, serving as a breathable lid. Cut off any fraying threads or loose ends once you have cut your fabric to size. Put to one side.
Next, prepare you wax. If your beeswax is in the format of a bar or the end of a candle, grate it down into small pieces using a grater. You will need about two tablespoons of grated beeswax for each wrap.
Lay down your tea towel onto your ironing board and place one sheet of baking paper in the middle of the towel. Place your cut piece of fabric down on top of the paper. Sprinkle your grated wax over your piece of fabric evenly with a teaspoon of oil, distributing both over the fabric. Once covered, place your second sheet of baking paper on top.


Turn your iron onto a high temperature. Place your iron on top of the paper and begin to move it around. You will be able to see underneath the top sheet of paper the wax beginning to melt. Slowly push the wax to the edges of the fabric with the iron. Continue to slowly work the wax evenly across the fabric until it has all melted - this will take only a few seconds. Be careful and continue moving the iron so you don't burn the wax.
Once you can see that all of the wax has melted underneath the paper, peel the top sheet off carefully. The wax and oil will have sunk into the fabric, and will begin to dry very quickly. Peel your piece of fabric off and waft about for a few seconds. Place on a sheet of a newspaper to fully dry.
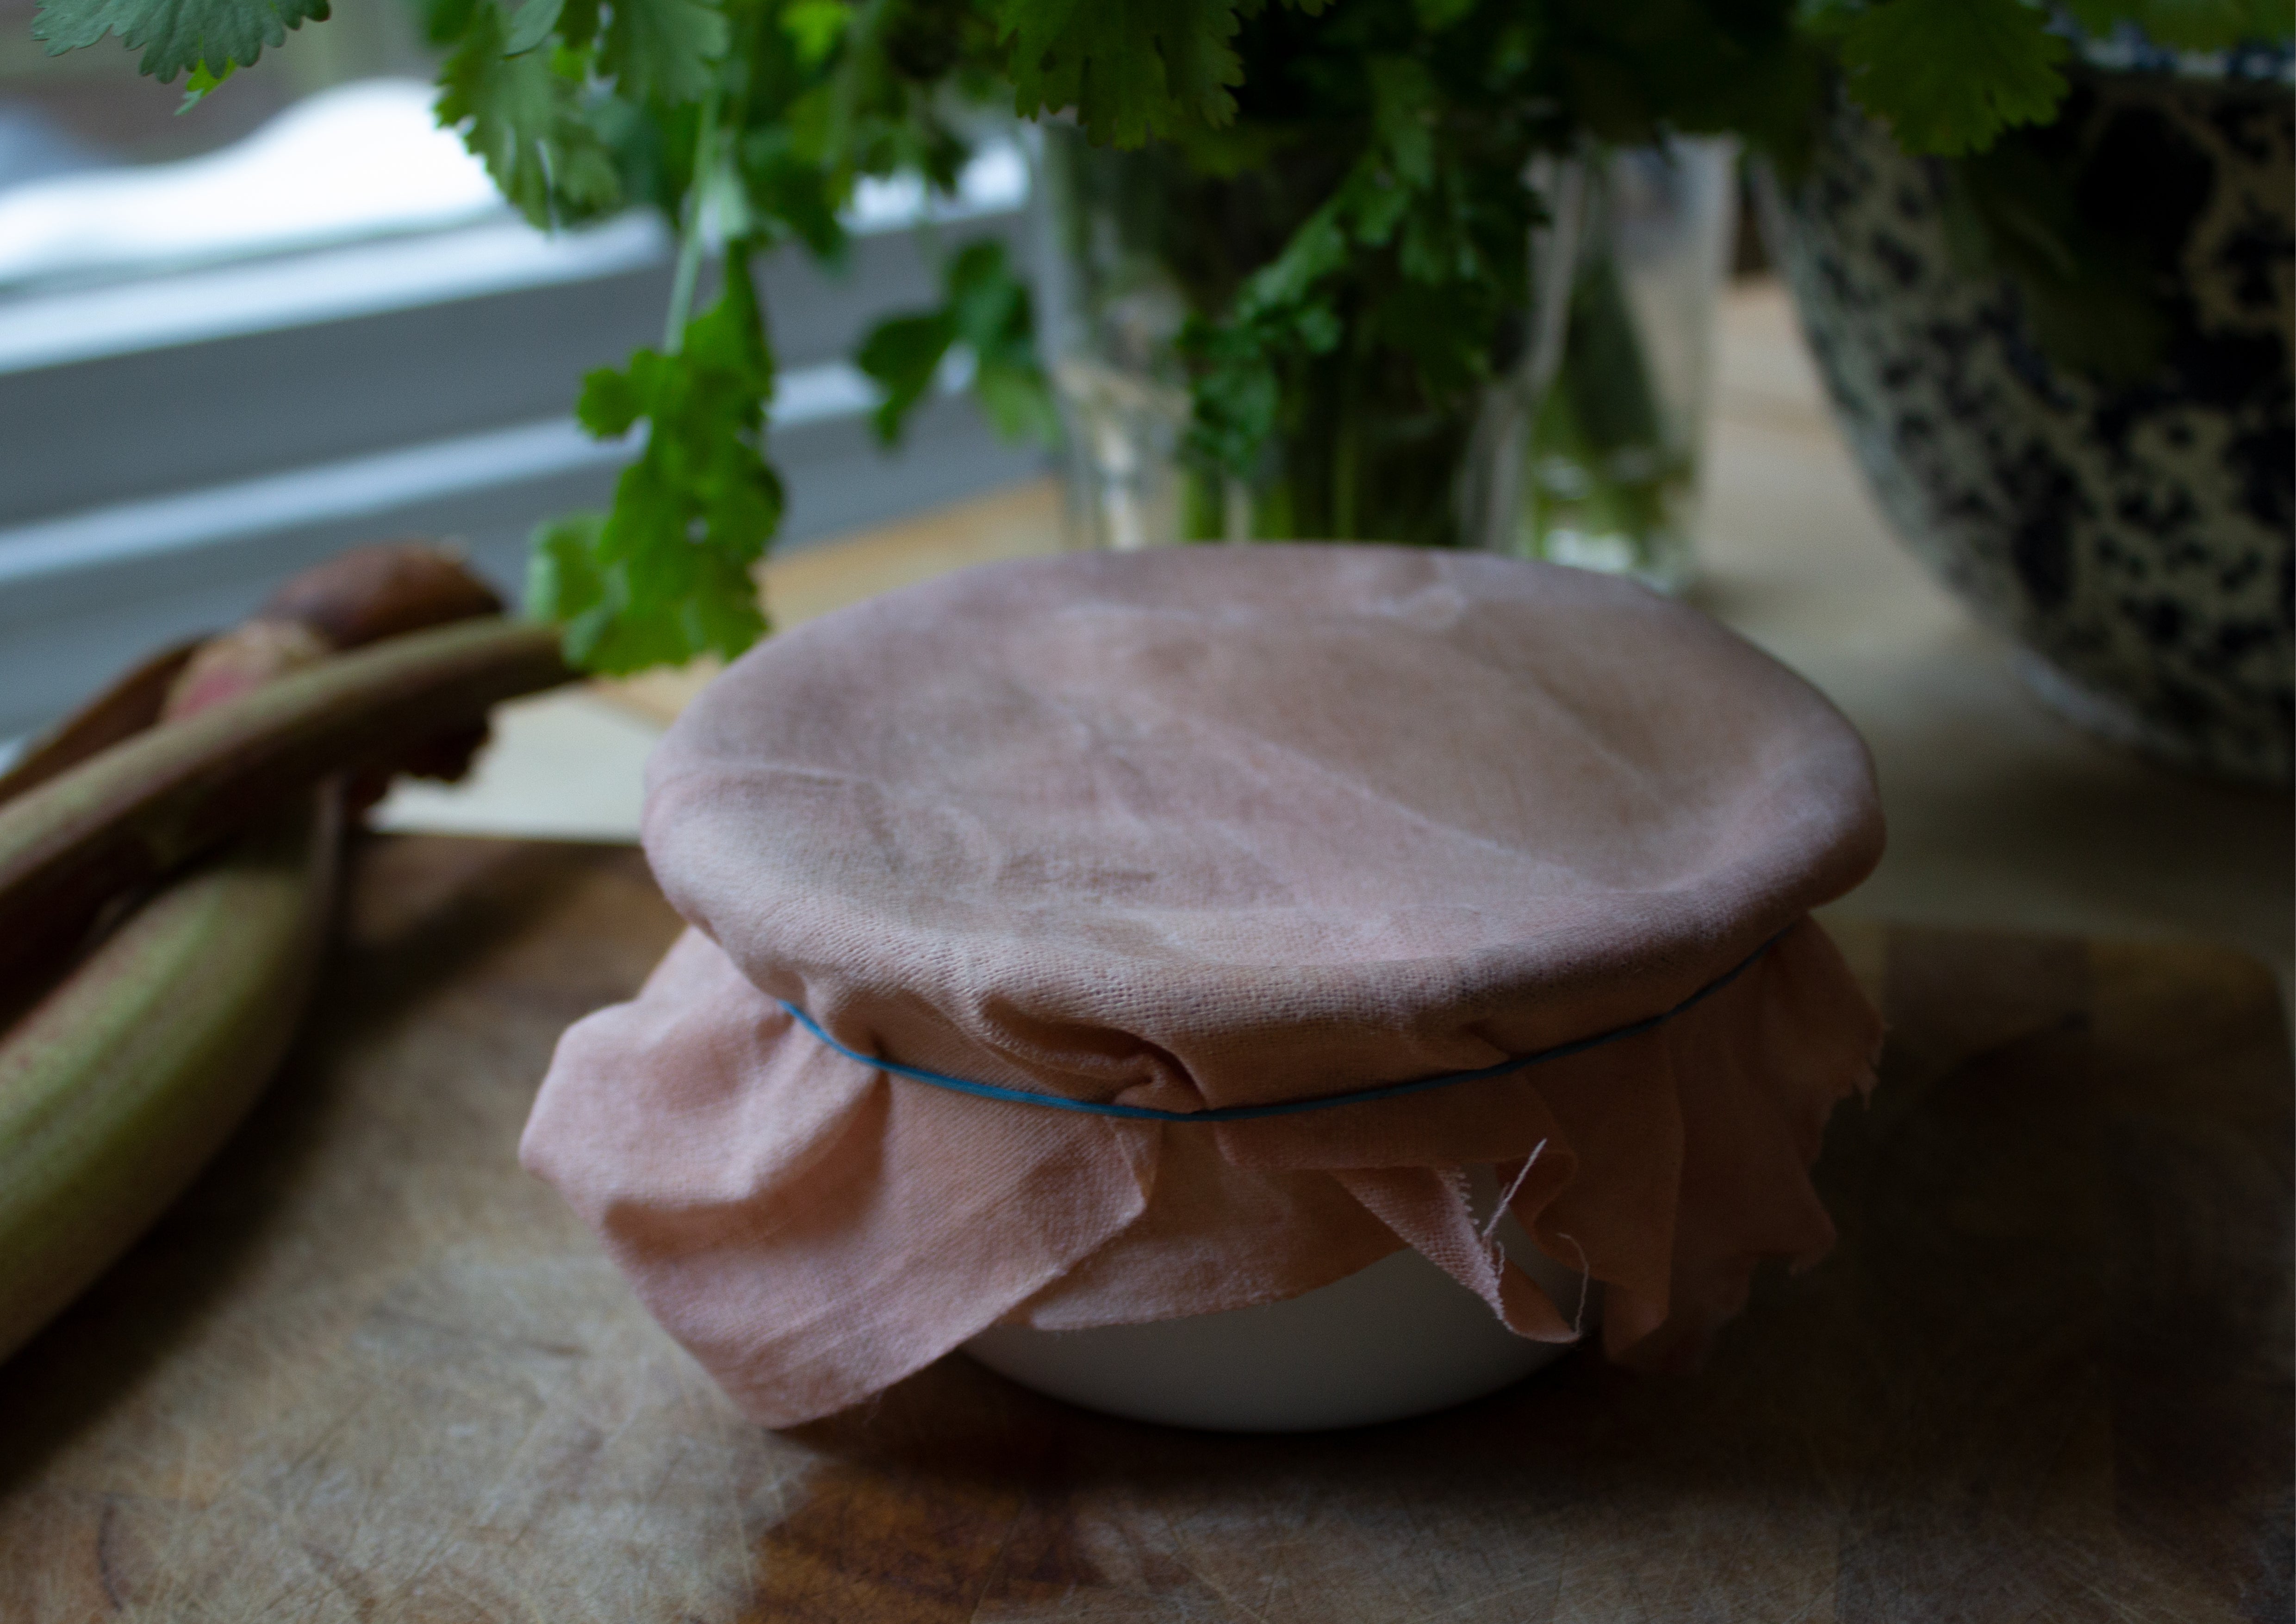
You can use your wrap to pack up sandwiches, to wrap up vegetables or moulded around bowls and the top of plates. You can clean your wrap by hand, washing in cold water with a mild soap and a sponge or brush. Hang up to dry and store folded in a drawer or rolled in a jar.
Shop our British Beeswax Candles. Once your candle reaches the end of its wick, the wax end can be utilised and used to make wraps. Your wrap will be reusable for up to a year and can be re-waxed again following these steps.
We hope you enjoy this little Time to Make guide. If you do make a beeswax wrap, please share it on Instagram using the #TOASTtimetomake. We would love to see.


Add a comment